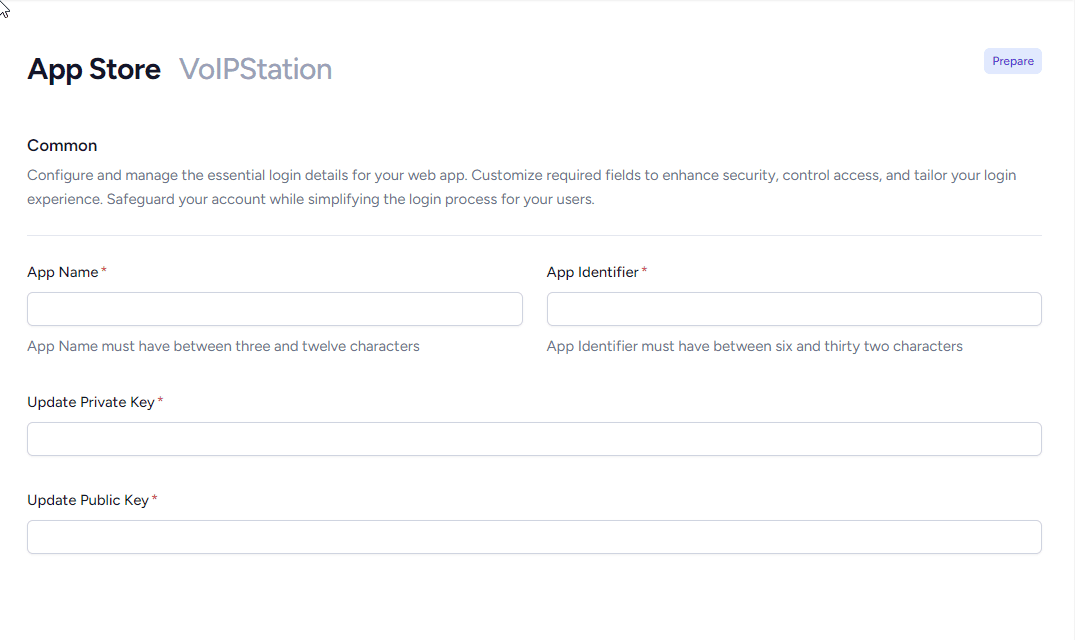
App Store Connect Files to Upload
To build your iOS softphone, the portal needs the signing files from your Apple Developer account. After you have created your Apple Distribution certificate and your two App Store provisioning profiles (see Creating Certificates and Profiles for the App Store), you upload them — along with a few values — in the App Store section of your project.
This page is a checklist of exactly what to upload and how to obtain each value.
Please note dummy data is used in the screenshots below and is intended only as a guide.
What you upload
You provide three files and a few text values in the App Store section:
| # | Item | Type | From |
|---|---|---|---|
| 1 | Distribution Certificate | .p12 file | Your Apple Distribution certificate + private key, exported from Keychain Access |
| 2 | Distribution Certificate Identity | text | The certificate’s Common Name |
| 3 | Distribution Certificate Password | text | The password you set when exporting the .p12 |
| 4 | App Provisioning Profile | .mobileprovision file | The App Store profile for your main app |
| 5 | Provisioning Profile Name & UUID | text | Read from the profile |
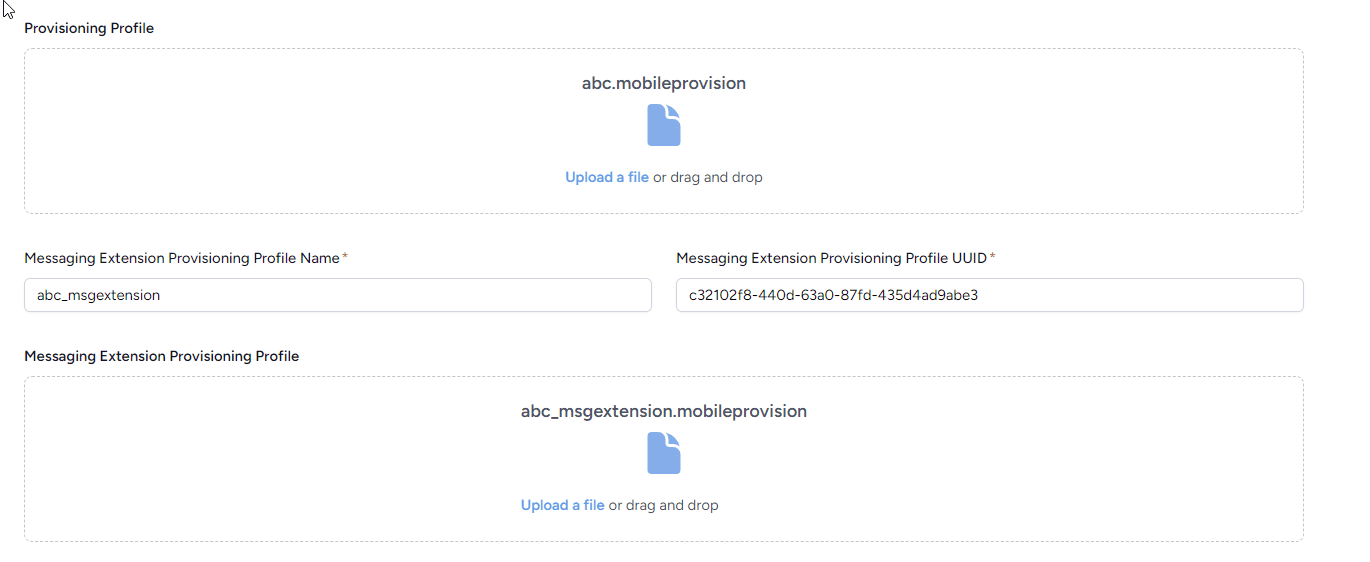
| 6 | Messaging Extension Provisioning Profile | .mobileprovision file | The App Store profile for the .msgextension |
| 7 | Messaging Extension Profile Name & UUID | text | Read from the profile |
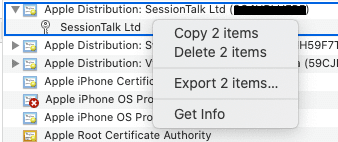
1–3. Distribution certificate (.p12)
Export the certificate together with its private key from Keychain Access: select both the certificate and the key, right‑click → Export 2 items, and save in p12 format, setting a password.
-
Distribution Certificate — upload the
.p12file itself.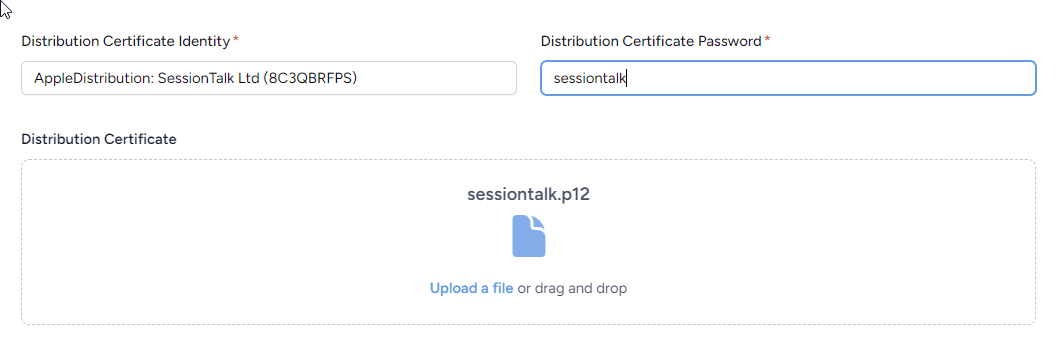
-
Distribution Certificate Password — the password you just set on the
.p12. -
Distribution Certificate Identity — the certificate’s Common Name. You can read it by double‑clicking the certificate in Keychain Access, or in Terminal with:
openssl pkcs12 -in distribution.p12 -nokeys -clcerts -passin pass:YOURPASSWORD \
  | openssl x509 -noout -subject
The identity is the
CN=value, in the form:Apple Distribution: Your Company Ltd (ABCDE12345)Enter that whole string (including the team ID in brackets) as the Distribution Certificate Identity.
4–7. Provisioning profiles (.mobileprovision)
You have two App Store profiles: one for the main app and one for the messaging
extension (its App ID ends in .msgextension). Upload each file and enter its Name and
UUID.
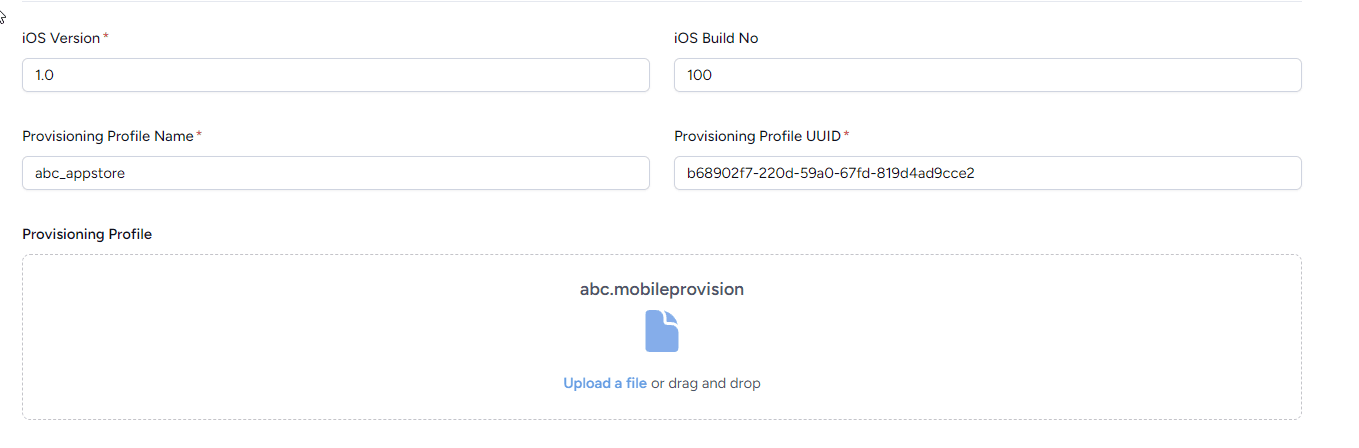
Reading the Name and UUID from a profile
Open Terminal, change to the folder containing your profile, and decode it:
security cms -D -i app_appstore.mobileprovisionThis prints an XML plist. Copy the values for the Name and UUID keys:
<key>Name</key>
<string>myapp_appstore</string>
<key>UUID</key>
<string>773370a1-ed8c-4c5f-9aa8-5c9036924d0b</string>
Repeat for the messaging‑extension profile:
security cms -D -i msg_appstore.mobileprovision<key>Name</key>
<string>myappmsg_appstore</string>
<key>UUID</key>
<string>d6e37d4b-a680-4ef8-b6bf-af2e24b8d28d</string>Enter these into the matching fields:
- Provisioning Profile Name / UUID → from the main‑app profile, and upload that file as the App Provisioning Profile.
- Messaging Extension Provisioning Profile Name / UUID → from the
.msgextensionprofile, and upload that file as the Messaging Extension Provisioning Profile.
Before you build — quick checks
Make sure the set is consistent, or the build will fail to sign:
- The App ID / Bundle ID in the main‑app profile matches the App Identifier set in the
portal (e.g.
com.yourcompany.app), and the messaging‑extension profile is for the same id with.msgextensionappended (e.g.com.yourcompany.app.msgextension). - Both profiles are App Store profiles (they contain no provisioned test devices) and
were created with the same distribution certificate you uploaded as the
.p12. - The certificate and profiles are not expired. Apple distribution certificates last 12 months — when the certificate expires you must create a new one and new profiles, then re‑upload all three files here.
Once the certificate, both profiles and their values are in place, start an iOS build from the portal. See also iOS App Store Settings for a field‑by‑field reference.